WARNING: The following contains information of great magnitude. If you read what’s below and apply the concepts, your photography will improve exponentially. This week’s tips are the keys to the Ferrari to allow you to command the end look to all your images. Take time to digest every letter, utilize the concepts and you’ll see a drastic improvement in your images.
When you take control of the aperture, you begin to take charge of the photograph’s end result. When you take control of the shutter speed, you begin to take charge of the photograph’s end result. When you take control of both, you take complete charge of the photograph’s end result.
- In Aperture Priority Mode, the shutter speed floats, and if enabled, so does the ISO. The camera can choose both of those aspects. You control depth of field and the amount of light.
- In Shutter Priority Mode, the aperture floats, and if enabled, so does the ISO. The camera chooses both of those aspects. You control subject/camera movement and the amount of light.
- In Manual Mode, the photographer controls the aperture, shutter and ISO manually.
Regardless of the mode a photographer implements, it’s essential he or she is fully cognizant of the aperture, shutter and ISO in order to control the final look.
.jwplayer { margin-bottom: 20px; margin-left: auto; margin-right: auto; }
In this week’s tip, I focus on Aperture Priority. For the seven accompanying images, I dispense reasons why I chose the given settings for each. This information will provide insight as to how the settings I chose impacted the end result.
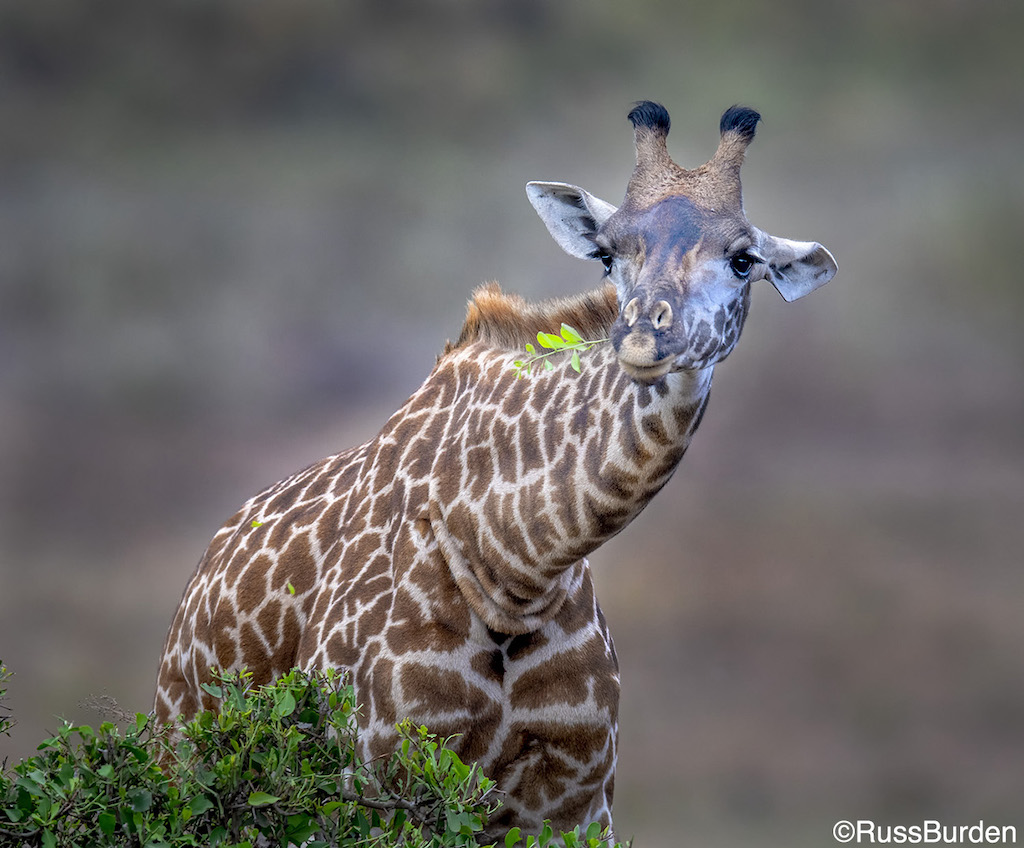
Giraffe (Above)
I used a 600mm lens on a 1.5 crop sensor body, which made the effective focal length 900mm. The ISO was set to 400 and the aperture was wide open at ƒ/4. I looked through the viewfinder and loved how the giraffe stood out from the background. I also made sure the entire giraffe was sharp from the tip of the nose to its rump. Had it not been, I’d have stopped down the lens to attain greater depth of field. Given the distance of the background from the giraffe, it fell out of focus. If they were close, it wouldn’t be possible to capture an out-of-focus background. Background-to-subject distance plays a huge part in determining the given effect of depth of field. I kept the ISO at 400 in that the shutter speed of 1/1250 sec. was fast enough to freeze the slow-moving giraffe.
50mm, 1/4 sec., f/16, ISO 100, tripod mounted with a polarizing filter
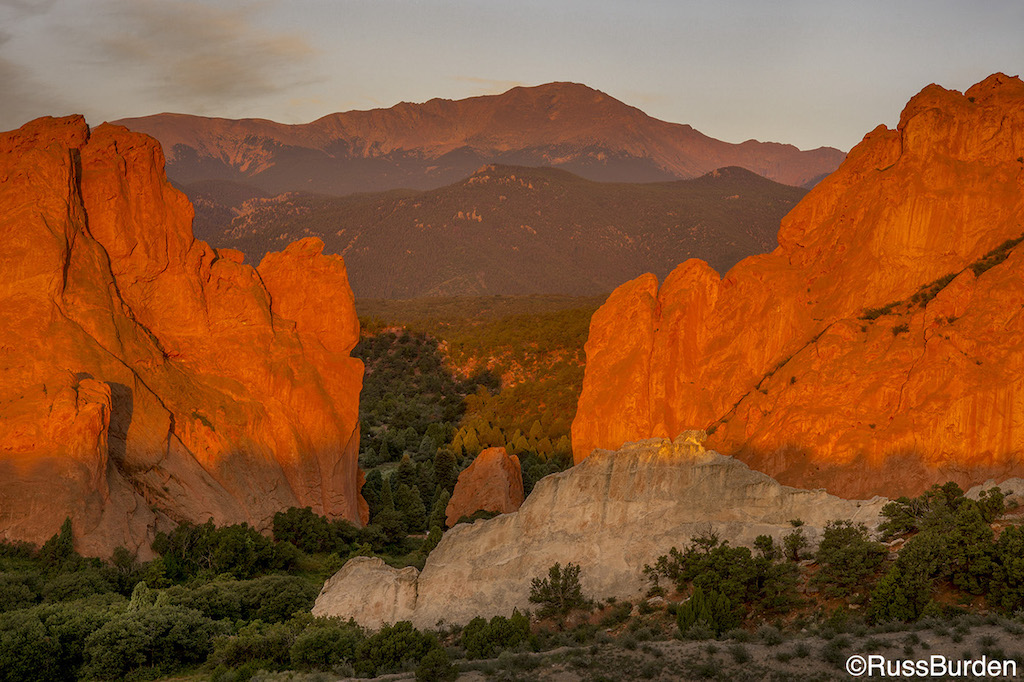
Red Rock Scenic
When I make scenics, my go-to ISO is 100. I use a tripod and cable release, which offsets a slow exposure and/or camera movement. I set the aperture to ƒ/16 to cover the depth of field. Astute viewers may question why I used ƒ/16 since there are no near subjects that require foreground, mid ground or background depth. Everything is basically at infinity. The primary reason I point this out is to encourage budding landscape photographers to get used to using smaller apertures to cover the necessary depth of field that’s most often essential.
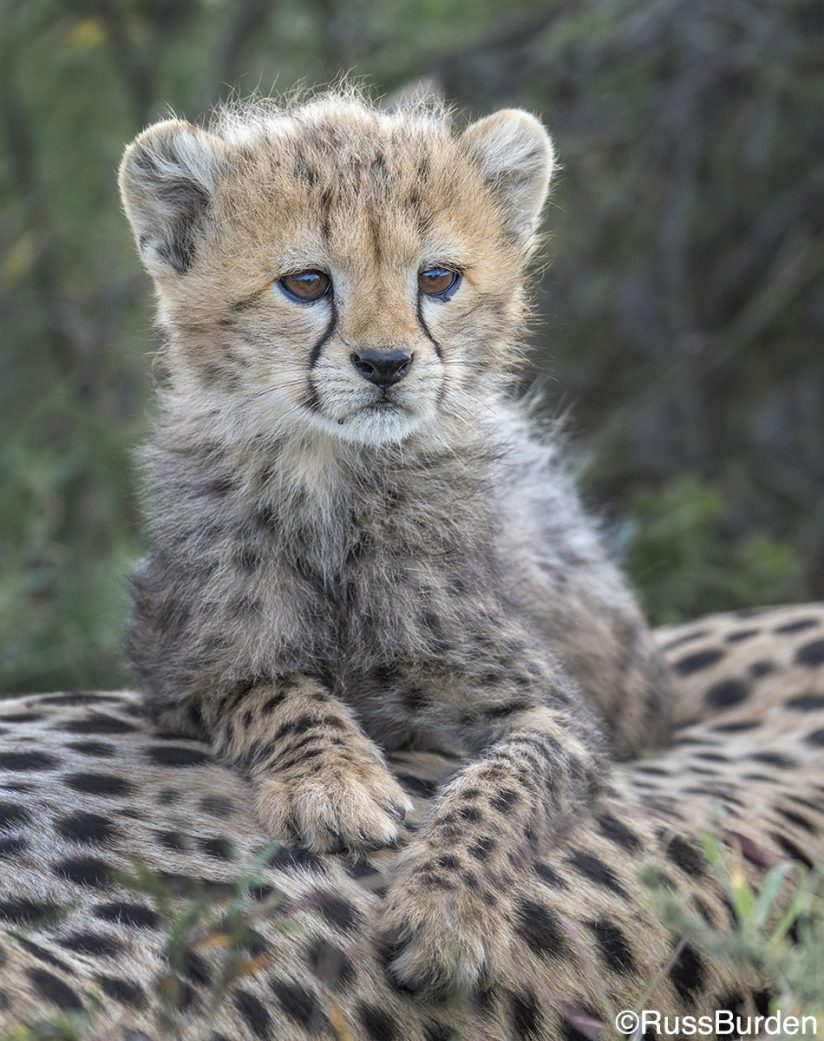
600mm, 1/1000 sec., ƒ/4, ISO 400, beanbag on window
Cheetah Cub
The way I took charge and used Aperture Priority is I wanted shallow depth of field so the background would be as much out of focus as possible. Momma still had her cubs relatively close to vegetation because they were young and vulnerable and she wanted to provide protection. I was thankful she didn’t lay down directly in front of a bush, so I used my long lens combined with a wide aperture to defocus the background as much as possible. The soft light allowed me to keep the ISO relatively low at 400 and still attain 1/1000 sec. shutter speed. If the cubs were more active, I’d have raised the ISO to enable a faster shutter.
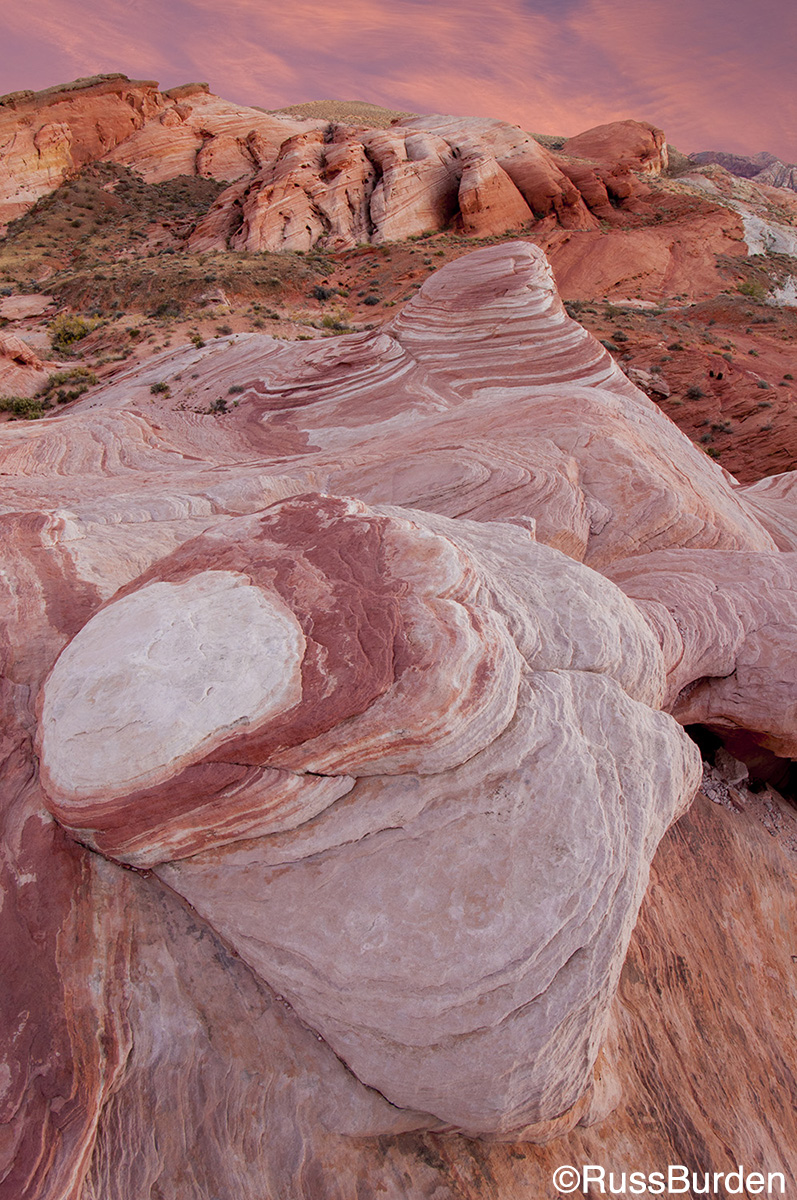
16mm, 1 sec., f/16, ISO 100, tripod
Red Rock Dawn Scenic
I needed to take complete charge of this photo given the close proximity of the foreground and how distant the background fell. In order to get everything in focus, even with the use of a 16mm lens, which inherently provides much depth of field, I needed to use a small aperture. Because it was dawn, the light was low. At ƒ/16 with an ISO of 100, the correlating shutter speed was 1 second. This necessitated the use of a tripod and cable release. I manually focused the lens to 8 feet, checked my depth of field chart for a 16mm lens and depressed my depth of field button to make sure everything was sharp. After zooming in my LCD to confirm sharpness, I left feeling confident I got the shot.
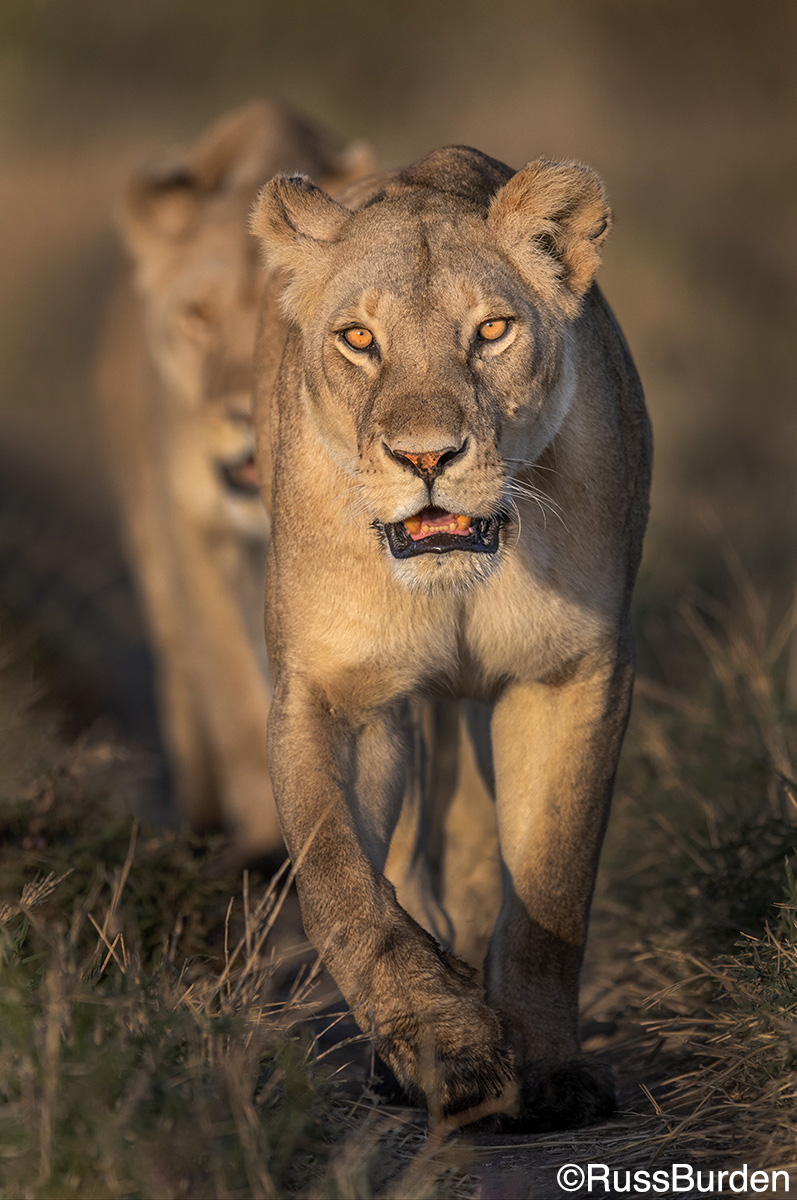
600mm, 1/3200 sec., ƒ/4, ISO 400, beanbag on window
Lionesses At Sunrise
As this image evolved and I envisioned what I wanted, I quickly put down my 80-400mm and grabbed the body with my 600mm ƒ/4. While I picked it up, I simultaneously reset the ISO to 400, which is my wildlife default, opened the lens to ƒ/4 and made sure the shutter was fast enough to freeze the subject movement. The lions ambled slowly, so 1/3200 was more than enough. I waited for the exact moment when one lioness partially hid the other and their steps and expressions were in unison. Thankfully, everything fell into place the way I hoped. The key is I took charge of all the settings while I grabbed the camera. Not a moment of time was wasted. Work quickly and efficiently.
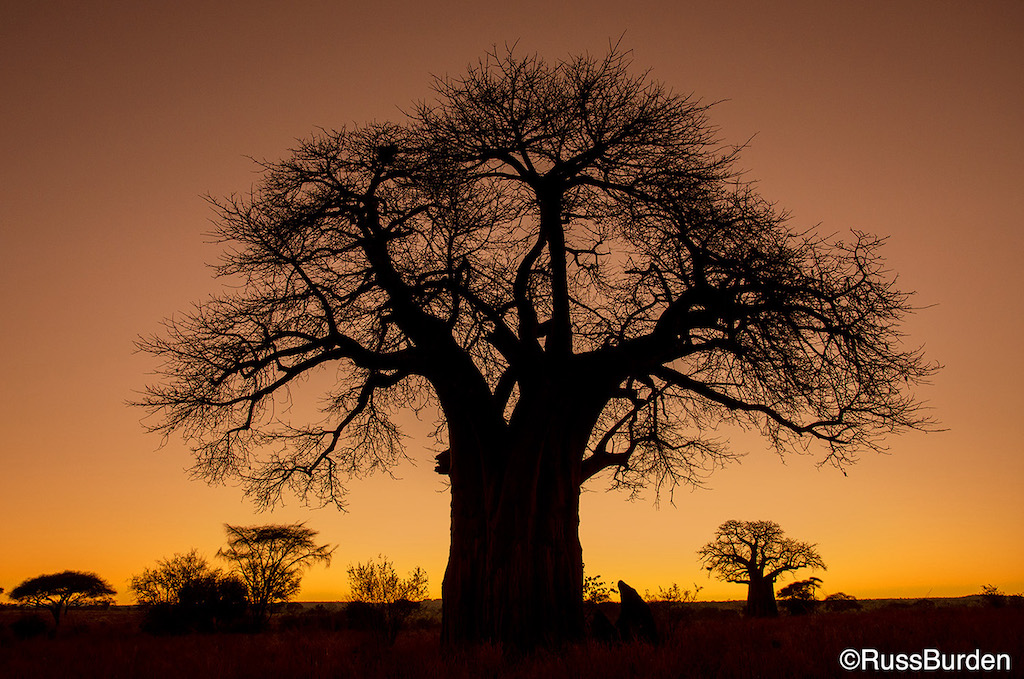
19mm, 1/250 sec., ISO 400, ƒ/5.6
Baobab Trees At Dawn
I don’t bring a tripod with me when I go to Tanzania as I’d rarely get to use it, so for scenics at dawn and/or dusk, I handhold my camera. When I do, I gravitate toward wides and super wides as they’re more forgiving of camera movement. I set the lens to the stabilized mode to help ensure I’d get a sharp image. I set the aperture to ƒ/5.6 because wides provide more inherent depth of focus and ƒ/5.6 covered it. The shutter defaulted to 1/250 sec., and I felt safe with those settings given the focal length. Given the morning conditions, I based my exposure on the red channel due to the warm color of the sky.
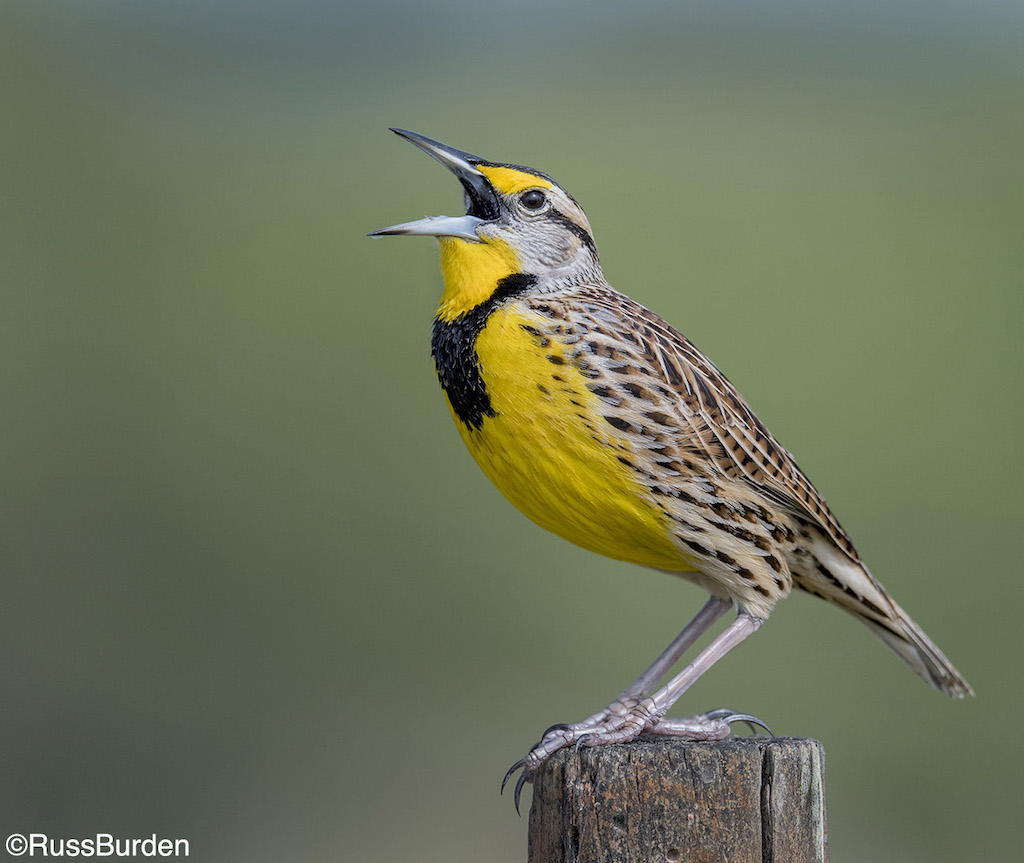
600mm, 1/3200 sec., ƒ/4, ISO 400
Eastern Meadowlark Calling
To the casual onlooker, this image looks like a basic capture. The truth is, there was only one position from where it could be made. This is solely because of the background. Just a few inches higher, lower, to the left or the right revealed a background that had major distractions. Thankfully, the meadowlark kept coming back to the same post and performed its morning call three times so I could align the shot. I used my long lens at its widest aperture to maintain the out-of-focus mottled green color. The ISO netted me a shutter of 1/3200 sec., which was fast enough to freeze the open mouth and not reveal motion. The overcast light provided nice open illumination.
Feel free to explore more of my photography at my website: www.russburdenphotography.com or visit my SmugMug page: https://russburden.smugmug.com.