You need a colorist but you don’t know how to work with them remotely. Yes, many don’t.
This will teach you how to do it efficiently and safely.
I was a Filmmaker and I know how terrifying it is to send your work to other people. The first worry is they might use your clips or the entire film before you even upload it. Second, they might not be capable of making your visions into reality. Third, they might leave you hanging because they don’t want to revise anymore.
I totally understand these fears and here are my tips on working with colorists remotely.
Have a contract prepared for the colorist to sign.
It may be a short contract with both of your signatures that clearly states the rules on what the colorist can and cannot do to your clips.
For example, he plans to use a clip for his portfolio. Is he allowed to upload a clip or not? Should he be allowed, is linking to the rightful owner required?
I see most of the colorists upload screengrabs of their works. This may be the only thing the owner of the film allowed him to post on his portfolio.
Right now, I’m working on a film where the owner didn’t let me sign any contract. Even though I can use the clips right now on my Instagram or post a tutorial on my Youtube Channel using his clips, I won’t.
But, that won’t go the same for other colorists so be aware and make sure you have a contract prepared.
Run tests
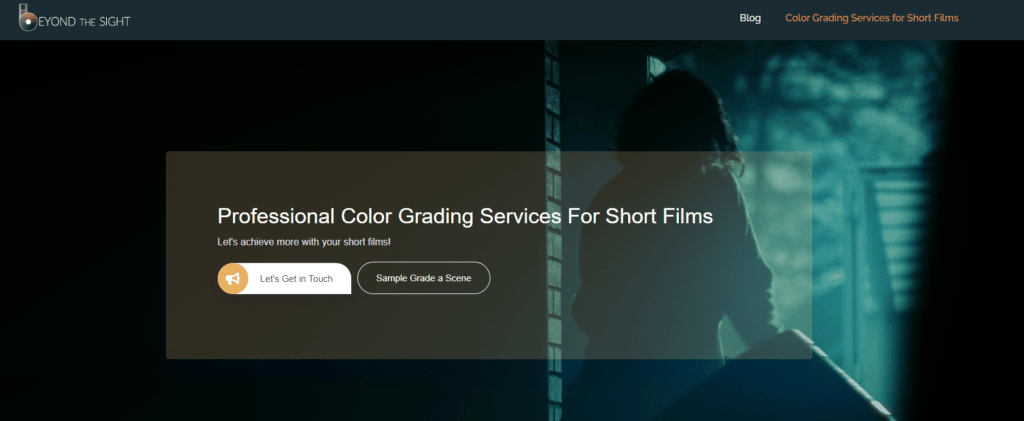
Most colorists would be willing to grade one or two clips for you to check if they can achieve the look you’re looking for. Here at Beyond The Sight, we offer color grading services and on that page, there’s a link where you can ask us to sample grade a scene.
This allows you to have peace of mind that you won’t waste time and money. As a director/cinematographer, you want your film to look exactly the way you wanted it to be. You want the colorist to be in line with your visions and not create any look he/she feels great for the film.
The film I’m color grading right now is a dark thriller film and I was so ready to make it look really gothic dark. But, when I asked the director, he wants green to pop out. I sent him dark greens but it wasn’t it. I tried adding a bit of warmth to the greens and he liked it.
It’s more challenging to sell the emotion with this color and it’s the job of the colorist to make it work. So, I stick to the color palette but made the branches dark and desaturated. I also made the subject’s face look a bit pale since his natural reddish skin doesn’t suggest any danger that much.
It worked and I was glad because this is a unique approach to scenes like that. I wish I could share some stills here but the film isn’t showing yet and I haven’t asked any permission to use them yet.
Prepare reference photos or clips
No matter how clearly you explain the vision you have, preparing reference photos or clips will help make the process faster. I suggest having a Pinterest folder for that or you can just send a photo or just state any movie that is somewhat close to the look you’re looking for.
It’s also best to talk via zoom to clearly explain the look you’re looking for in each scene. For example, if you want the car scene to feel like a certain reference photo that you’ve sent but you want it to be a bit warmer, you can say it to the colorist and he’ll surely take note of that. After all, both parties want the job to be done faster.
For short films and feature films, use bake and blade method
You can send your film to a colorist in 2 ways. The first is conforming. In this process, you’re going to upload all the raw files and an XML file of your timeline. I don’t recommend this in remote color grading because it’s not very time efficient to send those gigantic raw files. Unless time isn’t a factor and both parties are good with uploading and downloading them.
The second way is the bake and blade method. This is exporting your finished film in the highest quality possible. If you’re using premiere pro, an Apple Prores 422 10-bit would be a good format to go to.
You need to upload an ungraded film. Don’t add any LUT to it. It should be a clean ungraded film so that the colorist won’t be limited by any grade or LUT added to it.
What the colorist will do is cut the film in DaVinci Resolve using Auto Scene Cut Detection. It still needs to be manually checked and cut after since light rays and other transitions confuse the software. This is one of the jobs of an assistant colorist. He will prepare the film for grading.
Constant communication with the Colorist
I highly recommend that you communicate constantly with your colorist. Some colorists will send you the final file for checking. I think it wastes a lot of time. If he charges per hour, the time he spent on that and the time he’s revising will be on you.
Here at Beyond The Sight, our process is to send stills of graded clips per scene for the client to check and send his/her feedback. In this way, we don’t waste time shot matching to a look that the client will just ask to be revised after. Also, we charge per project so that the client won’t be charged for the time spent on the mistakes.
Conclusion
Working with a colorist remotely is easy if you’re going to follow these tips. Don’t let your fears prevent you from getting the look your desire for your film. Here at Beyond The Sight, you have nothing to worry about. We work professionally and we don’t stop until clients are completely satisfied.