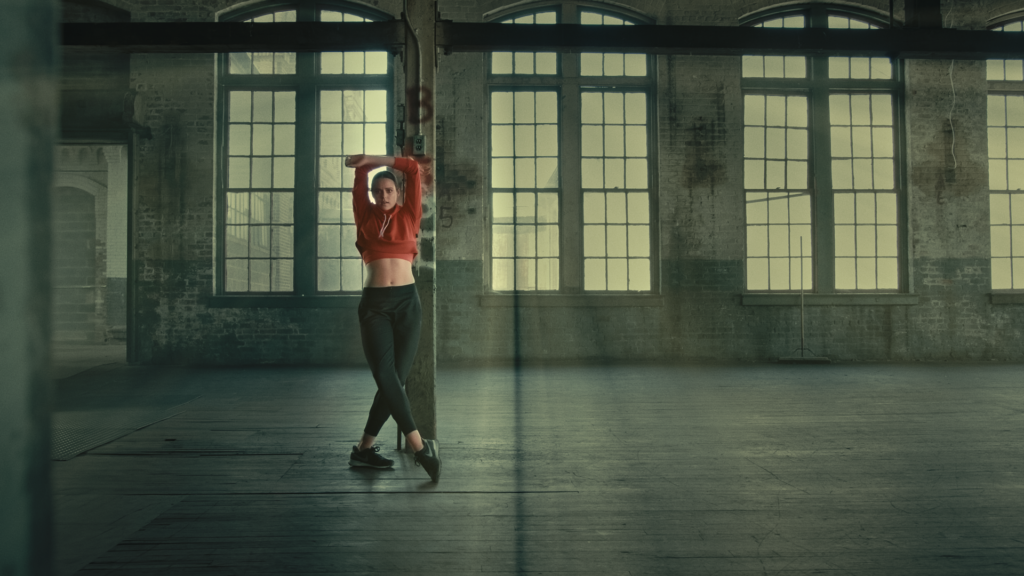
These light rays that you see in movies are most of the time created in post. In big-budget productions, creating these artificial light rays are handed over to the VFX section. But, if you’re creating your own films or you’re hired to color grade a short film, you’re going to need to know how to create these light rays.
Good news! This is very easy to do in DaVinci Resolve Studio.
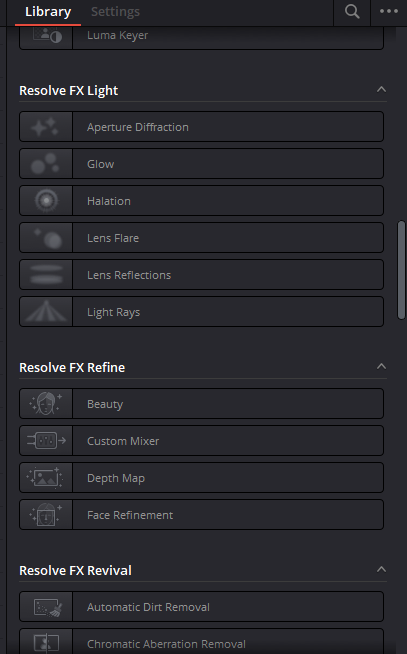
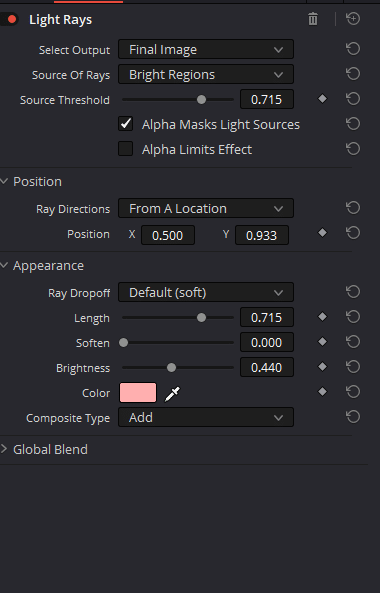
Create a new node for this. Under the Effects tab, search for Light Rays and drag it to the node.
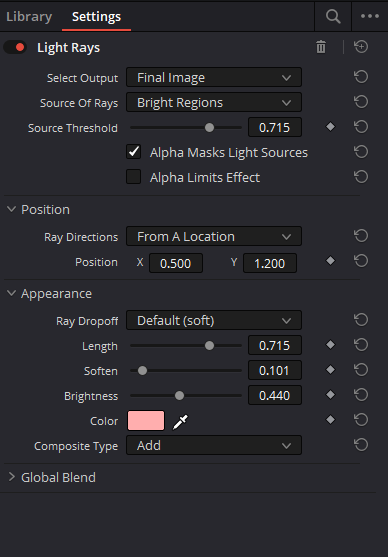
Under the settings, you’re going to see these parameters. These are the exact settings I have for the image above.
The first thing you’d want to change is the source threshold. Adjust this to a point where you’re selecting just the bright parts coming from the window. More often than not, you’re going to have an easy time selecting the window light because they’re mostly the brightest parts of the image.
There might be instances where there are indoor lights, like flashlights or lamps. In this case, you’ll need to create a mask by selecting just the bright areas from the windows.
Position
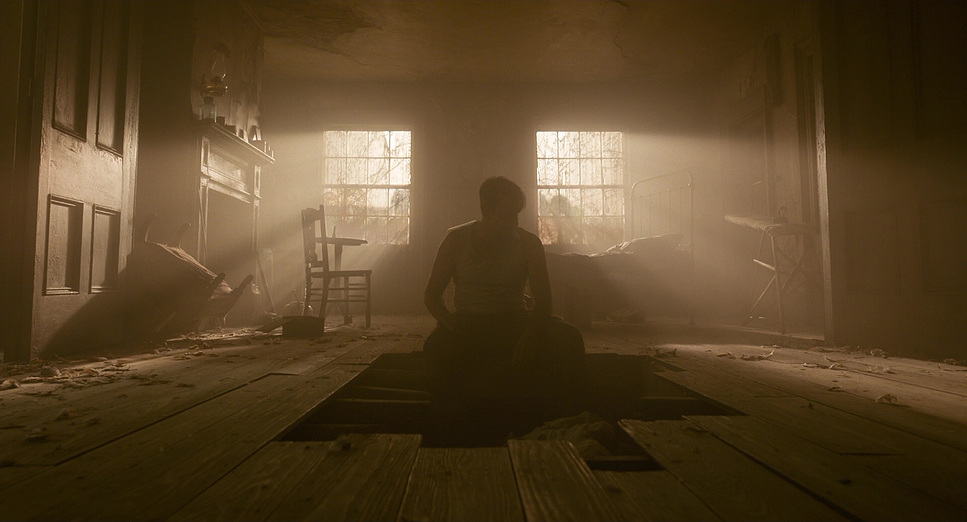
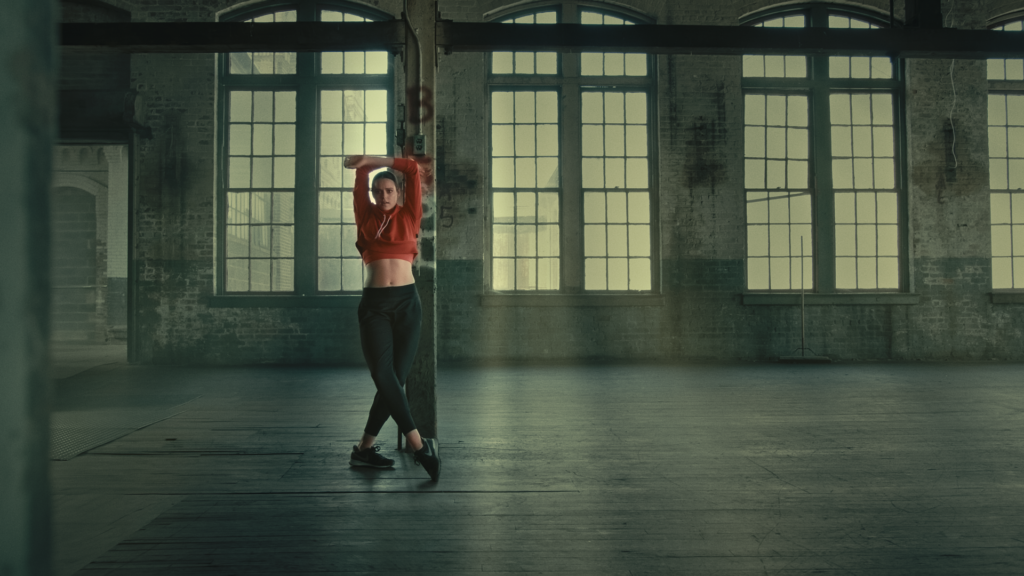
It can create really stylized images like this. The source of the light here is in the middle like the one I graded in the first example.
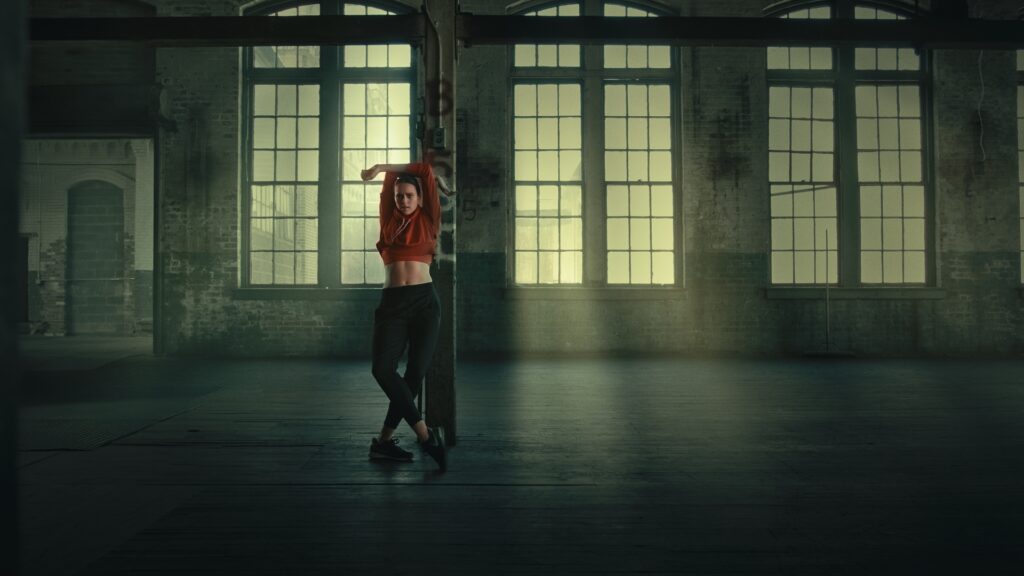
However, you’ll notice that that angle is a bit different. The first image came from a higher source beaming down to the floor while this one is lower and beaming through the camera.
You can adjust the location of the source from in the settings of the Light Ray effect. Let me show you. I intentionally removed the softening to make it easier to see the light rays.

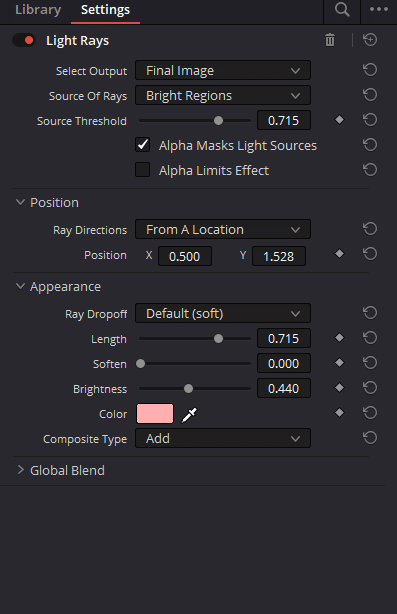
I only changed the Y-axis. Now the light is beaming from a lower location. See how the lights are beaming toward the camera now.
You can play with the X-axis and Y-axis to see what’s the best angle for your scene.
Appearance
You can adjust how your light beam looks. First, you can adjust the length of the beam
Depending on the image and the purpose, you can choose whichever. Nothing is right and wrong. For example, if you want to suggest that the areas not covered with the light of the window are dark, you’d want to make it shorter. It really depends on the purpose.
It’ll also depend on the colorist’s taste. For me, when it’s this long, it looks unnatural and edited. We don’t want the viewers to feel like the films are edited even if they really are.
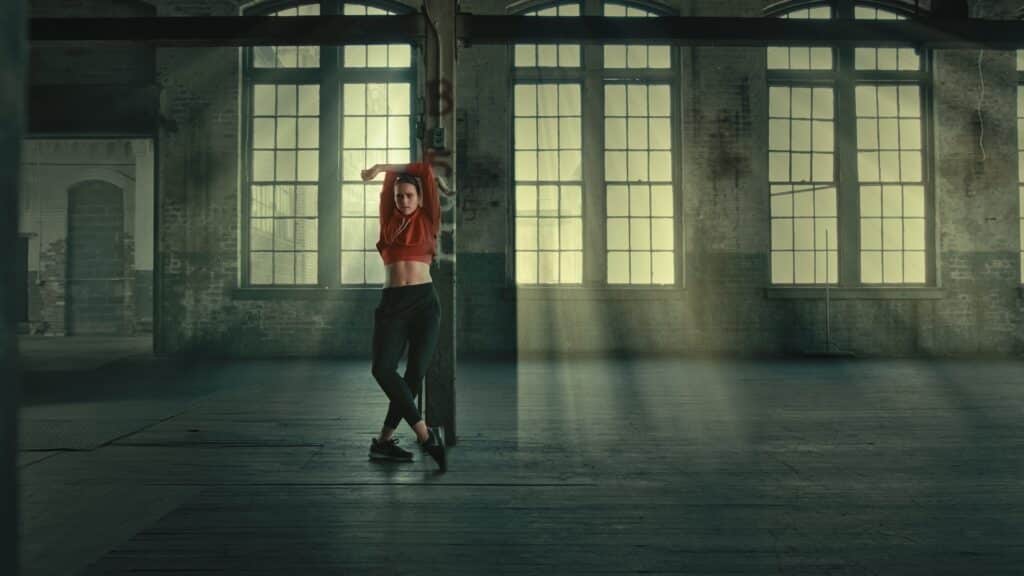
I used long rays here but I soften them out using the softening in the settings of the light ray effect and adjusted the brightness, giving me this image below.
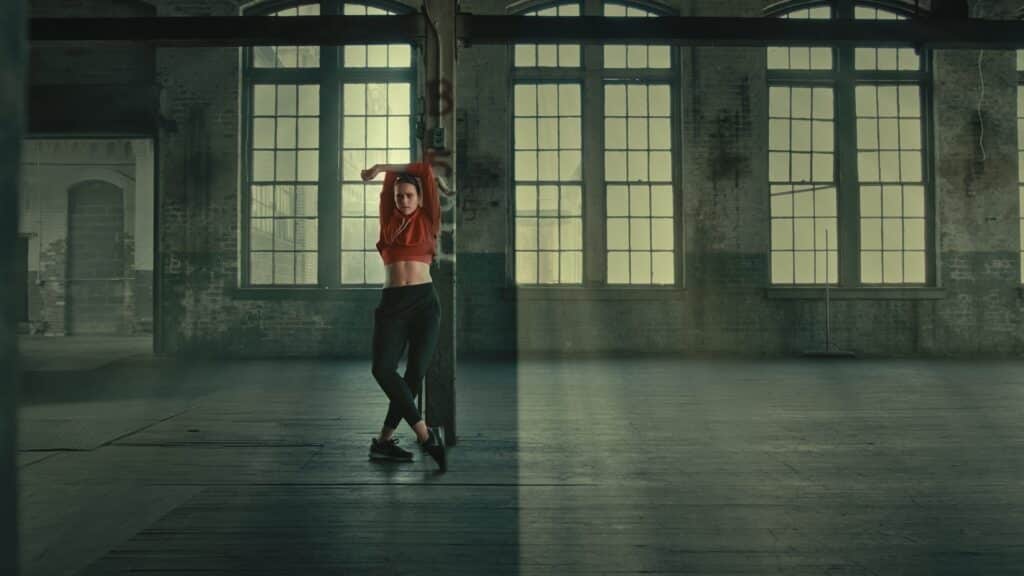
I tried a short one and I also liked it. If the director wanted a darker scene, I’d make it shorter and a bit silhouetted.
Maybe something like this
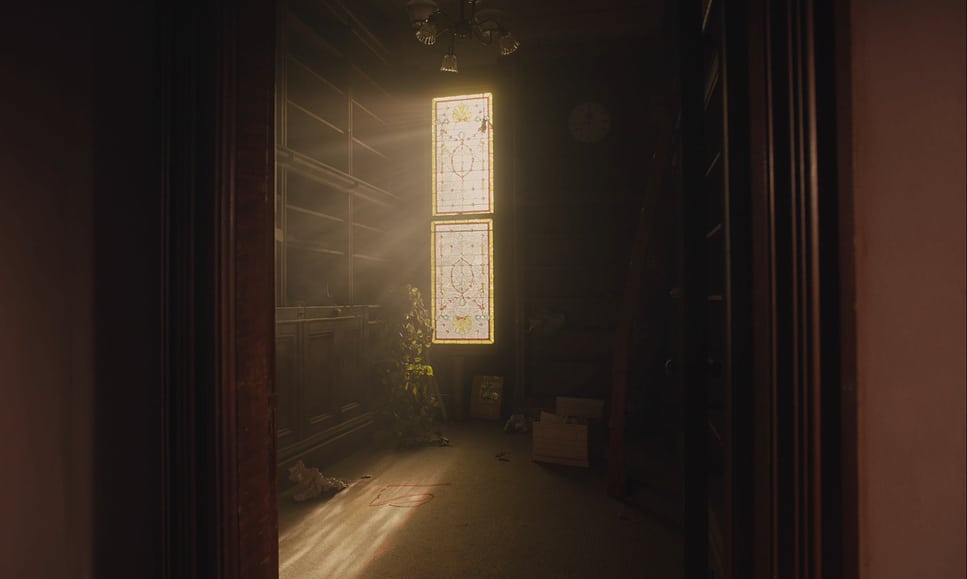
These light rays aren’t limited to only windows that are facing directly the camera. You can have the window on the side and the beam to the left. The light ray effect in DaVinci Resolve can be applied to different types of window lights.

There are other uses of light rays other than windows. You can also use it outdoors to create a sunray effect or maybe for some simple visual effects.
The best courses in Color Grading should include this effect since this is a very powerful tool in color grading. The best one to explain this is the course of Waqas Qazi, The Freelance Colorist Masterclass.