This week’s tip isn’t based on a single theme or idea. Focus on the fact that the important aspect in each paragraph is dedicated to a single photographic concept. Everything below can be applied to any topic, subject or theme of image making. In essence, what follows are the attributes that I find are the keys to apply to every photo you create from this day forward.
It’s All About The Light
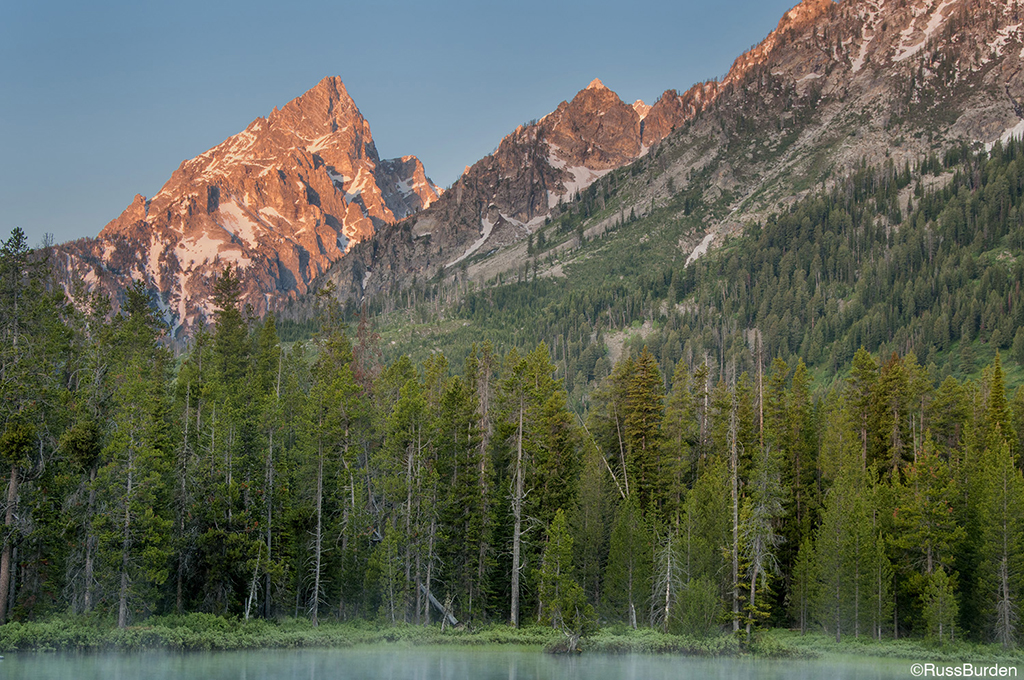
Photo = light // graphy = to write. Without light, a photograph can’t be made. The better the light, the better the photo. If you’ve been with me on a Serengeti safari or domestic nature photo tour, you know I live by the following words—“It’s All About The Light.” The angle, color, intensity, where it falls, etc., all work in harmony or against the person behind the camera depending on how this list of factors stack up.
So what defines the best light? It’s impossible to provide a definitive answer in that it “all depends.” If it’s noon and sunny and you’re in the Serengeti, the light is awful. But, if it’s noon and bright overcast, the light is soft and photos can be made all day.

.jwplayer { margin-bottom: 20px; margin-left: auto; margin-right: auto; }
Ideally, I want full sun at sunrise and sunset and I want the subject front lit. The color and light angle are much better. But, if I’m making a Serengeti scenic, I want sunrise and sunset light at a right angle to provide sidelight. If I want to provide a rim-lit glow around my subject, I want it backlit at sunrise or sunset.
Many photographers observe light only when they carry a camera. I encourage you to study light all the time. If you’re walking the dog, look at the light on a neighbor’s house. It will differ when you make the morning walk as opposed to the evening one. Study the nuances. As you drive to and from work, study the light. Long term, notice how it changes from season to season. The bottom line is to learn to read the light and know when, where and how to apply it to the conditions and subjects you choose to photograph.
KISS—Keep It Simple Sweetheart!
I’m often asked to review a photographer’s portfolio. It’s usually easy to discern a beginner from an intermediate to an advanced photographer based on how evident the subject is in each photo. Be aware of distractions such as blown-out highlights that pull the eye away from the subject. Be aware of distractions that grow or are positioned in front of the main subject that blocks the viewer from knowing what the subject is. Be aware of how the light falls and if it’s illuminating the background or the subject. I live by what I refer to as the “Placeholder” concept. I may encounter a subject or scene I’ve never before witnessed, but if the end result doesn’t provide the quality I’ve come to enjoy, I save it as a placeholder. If I see the subject again and the conditions are better, I’ll make another photo and “keep one-upping” it until I get one I’m proud to show.
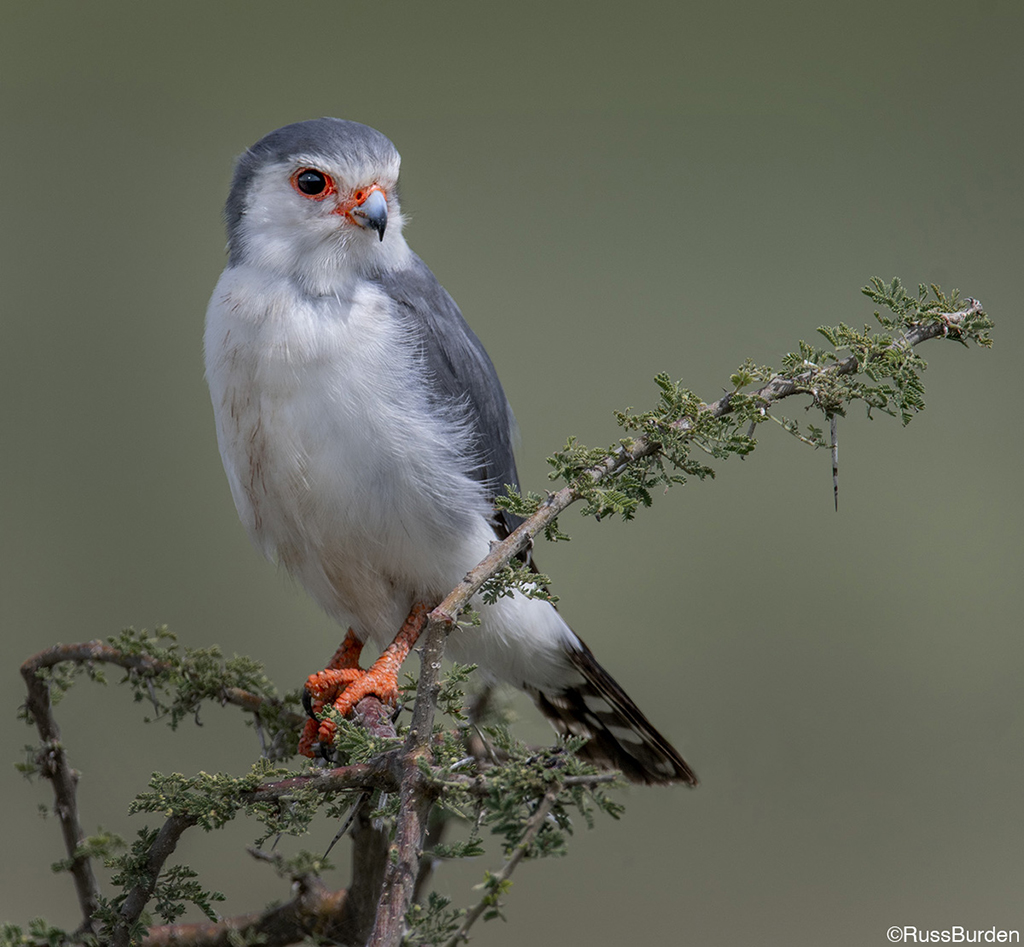
Use Depth of Field Strategically
Depth of field is based on a number of factors that are critically interconnected. For any given situation, depth of field may be slightly or tremendously impacted based on how all of the following factors work together: Focal length, aperture, proximity to the background, distance from camera and subject magnification. Change one and the end result may vary anywhere from slight to drastic. To emphasize my point, an image made with a 400mm lens will provide completely different results than if you made it with a 50mm. Another obvious concept to understand that emphasizes my point is if a subject is only a few inches from the background, regardless of the focal length, it will be impossible to use depth of field to throw the background out of the range of focus. It behooves you to learn the interconnectivity of how each factor impacts the other so you can take charge of all your end results.

Use Leading Lines
A leading line is used to steer the viewer’s eye to the main subject. A great example is a country road that bends its way to bring the eye to a barn, an important tree or another key element. Another classic one is an S curve of a river or path that allows the viewer’s eye to flow through the image. They can be curved, straight, diagonal or zigzag. Look for them to lead a path to the main subject and place them in your composition in a strategic way.
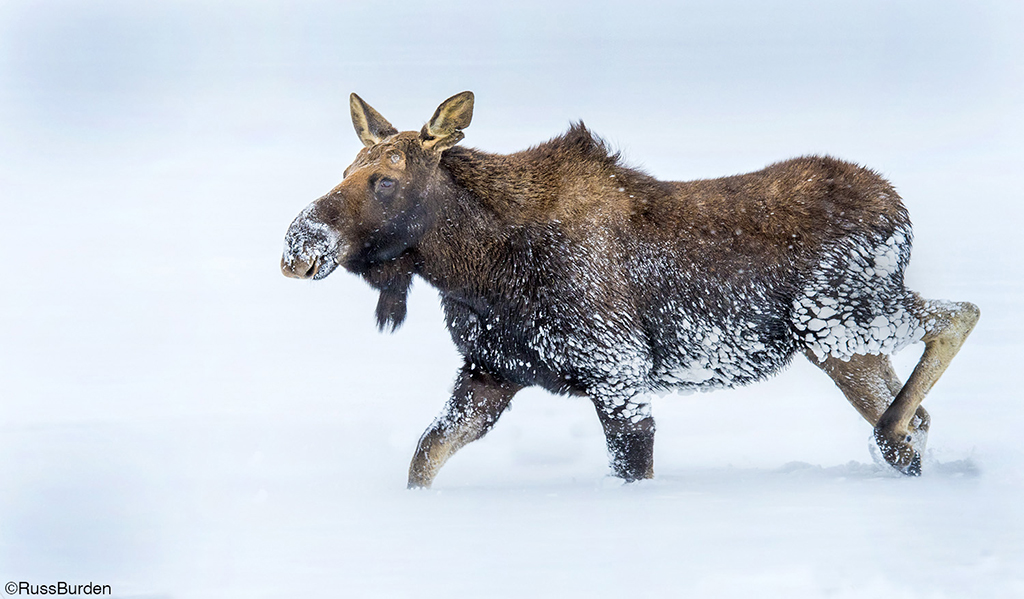
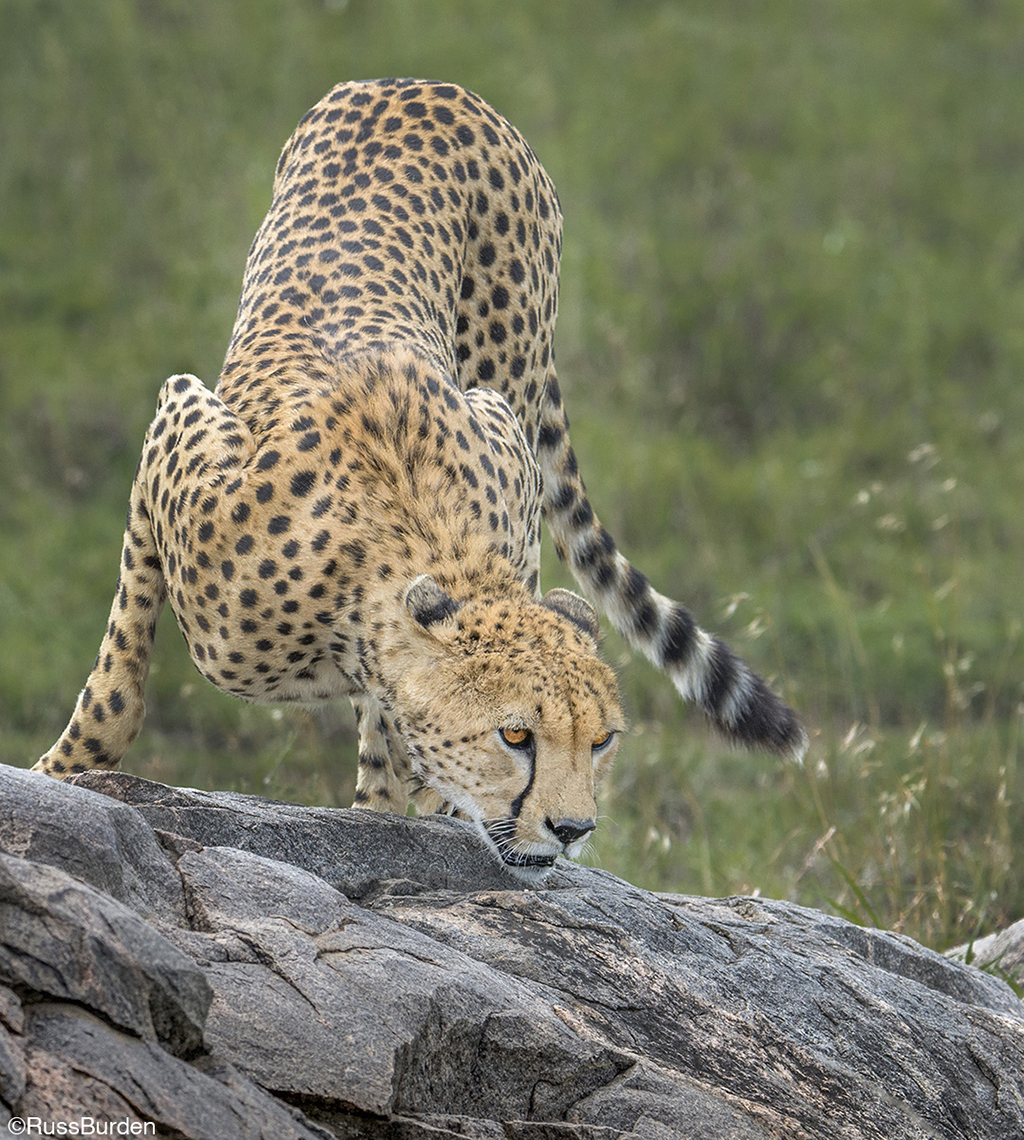
The Background And Foreground Are As Important As The Subject
The first time I went to the Serengeti and saw my first lion, cheetah, gazelle, chameleon, elephant, etc., of course I made a photo, but I knew I’d never post any of them because the background or foreground all but hid the subject. The elements were so distracting, the photo looked awful. That’s how I began my placeholder concept mentioned above. If the background is busy, bright, distracting or in competition with the subject, move on to the next subject and wait for a better situation. If the foreground hides or blocks the subject, the same applies. Ideally, the subject should be clean and unobstructed. There shouldn’t be factors that pull the viewer’s eye away from what you want noticed. The ideal situation is one where the lead actor of the image is not in competition with other areas of the photo that don’t allow him to shine in the spotlight.
To learn more about this subject, join me on a photo safari to Tanzania. Visit www.russburdenphotography.com to get more information.